Excel Add-in: Downloading and Installing the Add-in
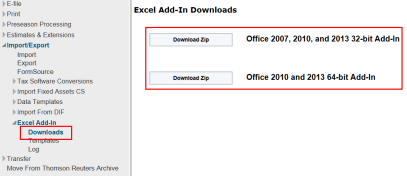
To download the Excel Add-In:
- On the Excel Add-In Downloads screen, select the Download Zip button for either the 32-bit or the 64-bit file, based on your computer configuration.
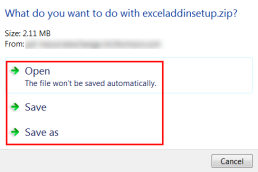
- A dialog box at the bottom of the screen asks What do you want to do with exceladdinsetup_X64.zip? Select Open, Save, or Save As. Browse to the file location and save the zip file.
- After the download is completed, select:
- Open to open the file in the downloaded folder.
- Open folder to display the download folder.
- View Downloads to view a list of downloaded files.
- Select the down arrow on Open and select Open with to select an application with which to open the zip file.

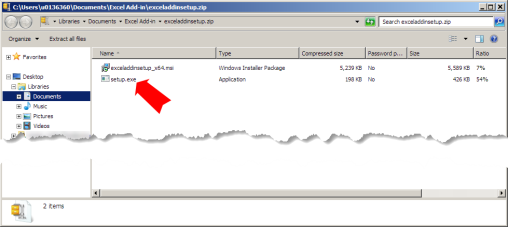
- Select the zip file, and then select the setup.exe file as shown below.
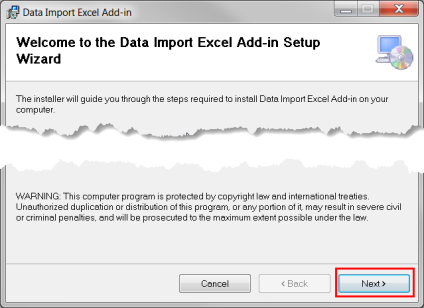
- On the Welcome screen, select Next.
If you have previously installed the Excel Add-in, the options displayed are Repair or Remove the Data Import Excel Add-in. Select the appropriate option, and then select Finish.
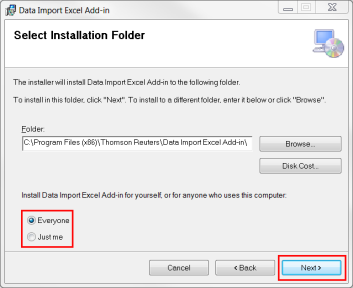
- In the Select Installation folder, select Browse to save the file in a different location from the default. Select either Everyone or Just me. Then select Next.
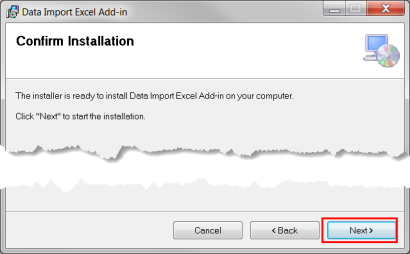
- On the Confirm Installation screen, select Next to start the installation.
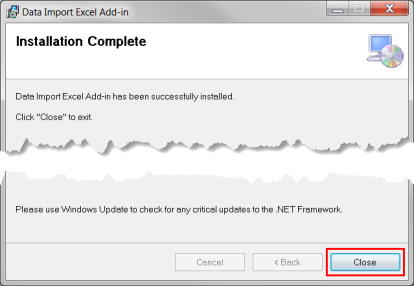
- Wait until Excel Add-in is fully installed. When the Installation Complete dialog box displays, select Close.
Import/Export/excel_getting_started_3.htm/TY2021
Last Modified: 11/09/2020
Last System Build: 10/18/2022
©2021-2022 Thomson Reuters/Tax & Accounting.
