Direct K-1: Performing an Import
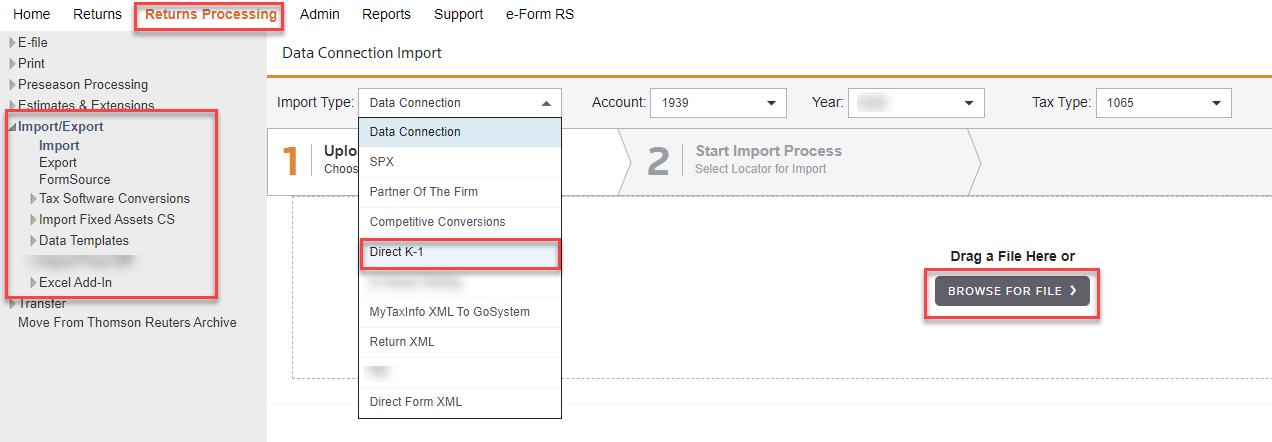
- In the RS Browser, click the Returns Processing tab.
- Click Import/Export to open the menu item.
- Click Import to display the import screen.
- From the drop-down list, select Direct K-1 as the Import Type.
- Select the Account number (XXXX), the tax Year (2021), and the Tax Type (1065).
- Click the Browse for File button, as shown below.
- The Open dialog box is displayed. Navigate to the location where the desired *.PX1 file is located. Highlight the file name, and click Open.
Only the *.PX1 file type is available for import.
- The Direct K-1 (*.PX1) file appears under the Browse for File button.

The DK-1 import file (*.PX1) must have a valid header record in order to show up for import.
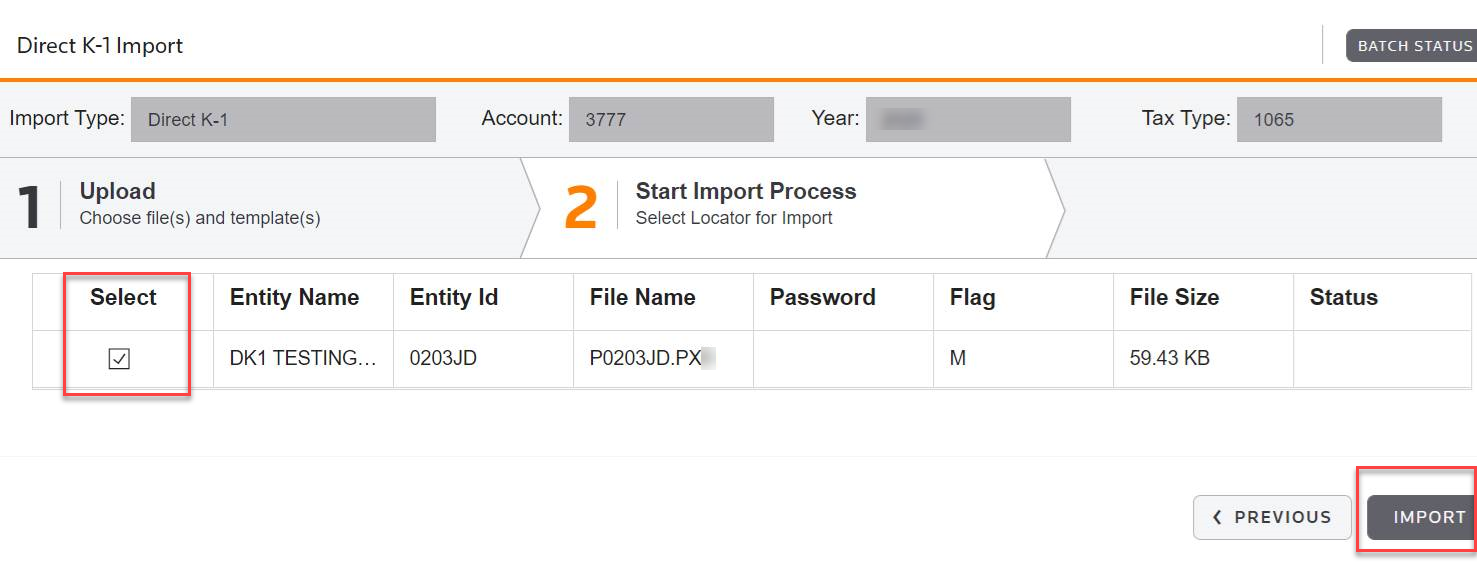
- Select the check box next to the import file in the list, and click the Import button.
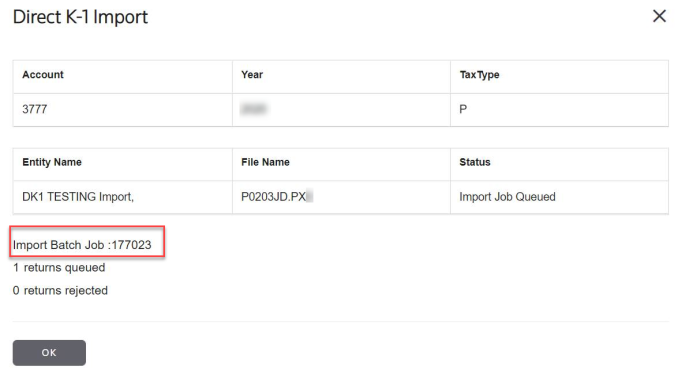
- Information about the entity selected is displayed on the Direct K-1 Import screen. Verify the information, make a note of the import batch job number, and click the OKbutton.
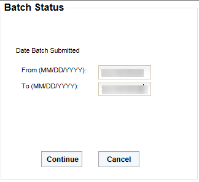
- When done, click the Batch Status button in the upper right corner of the screen.

- On the Batch Status screen, enter a range of dates in the Date Batch Submitted section, and then click Continue. This retrieves a list of all batches that fall within the date range specified.
- Click a Batch ID underlined link to see the batch status.
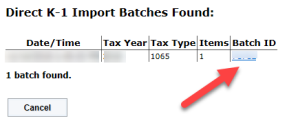
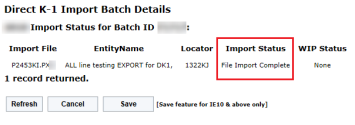
- If the Import Status shows a Queued for Import message, click the Refresh button until File Import Complete is displayed in the Import Status column. When finished, the Import Status displays a File Import Complete message, as shown below. Then click the Cancel button.
Schedule K-3
Special precautions must be taken when the return includes Schedule K-3 data for import.
In order to see these sections, you must include the following forms and field names in the import file.
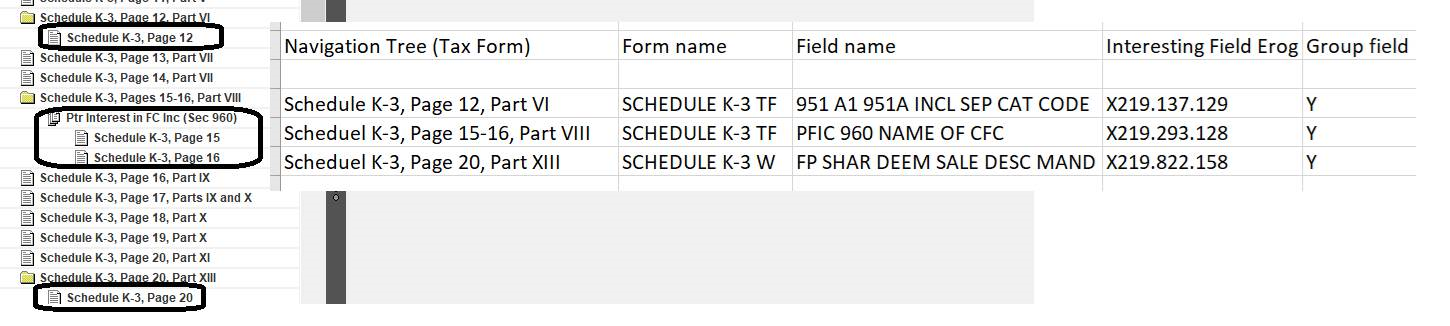
-
If the direct K-1 import cannot populate automatically, you must check the following Organizer check box under the Foreign Information folder. (Organizer > Foreign Information > Ptr Distributive Share-International, K-2, K-3 Activation and General Info)
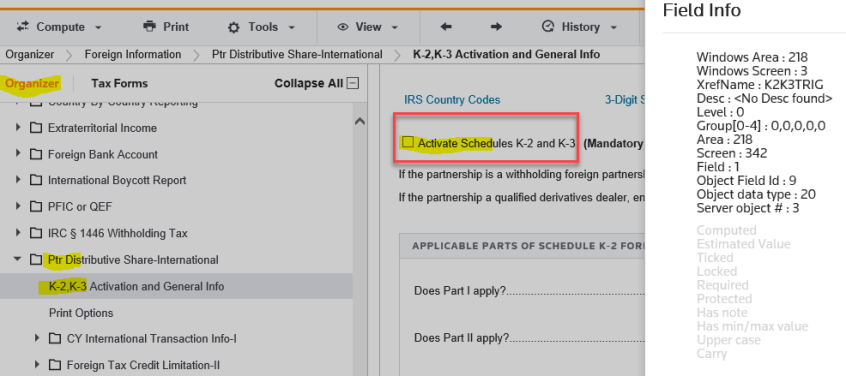
-
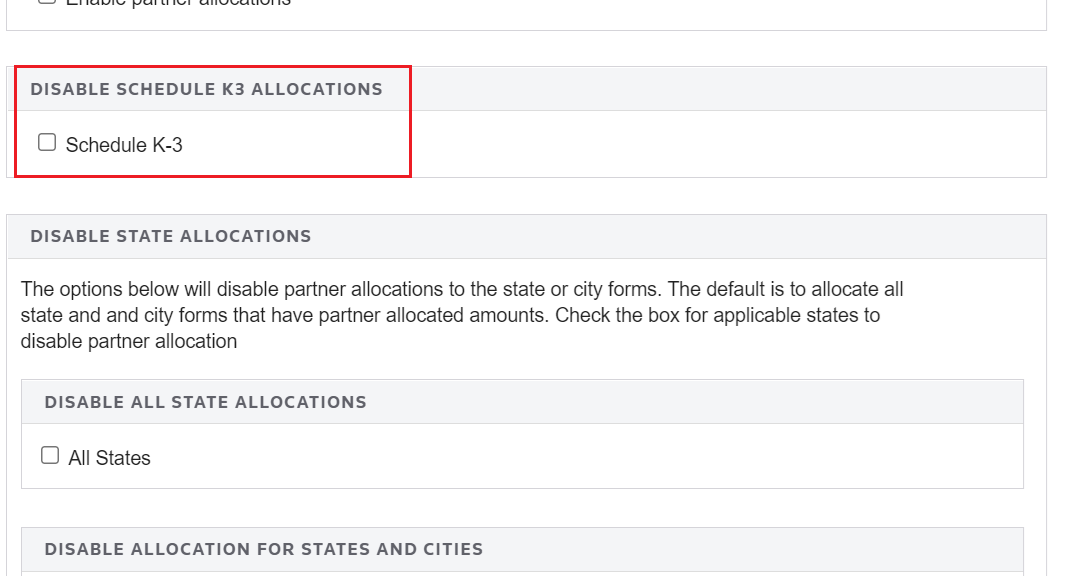
Before performing an import and preferably before the partner allocations is activated, verify that the Schedule K-3 box is checked to turn off partner allocations to Schedule K-3. (Organizer > Partner Allocations Disabled)
-
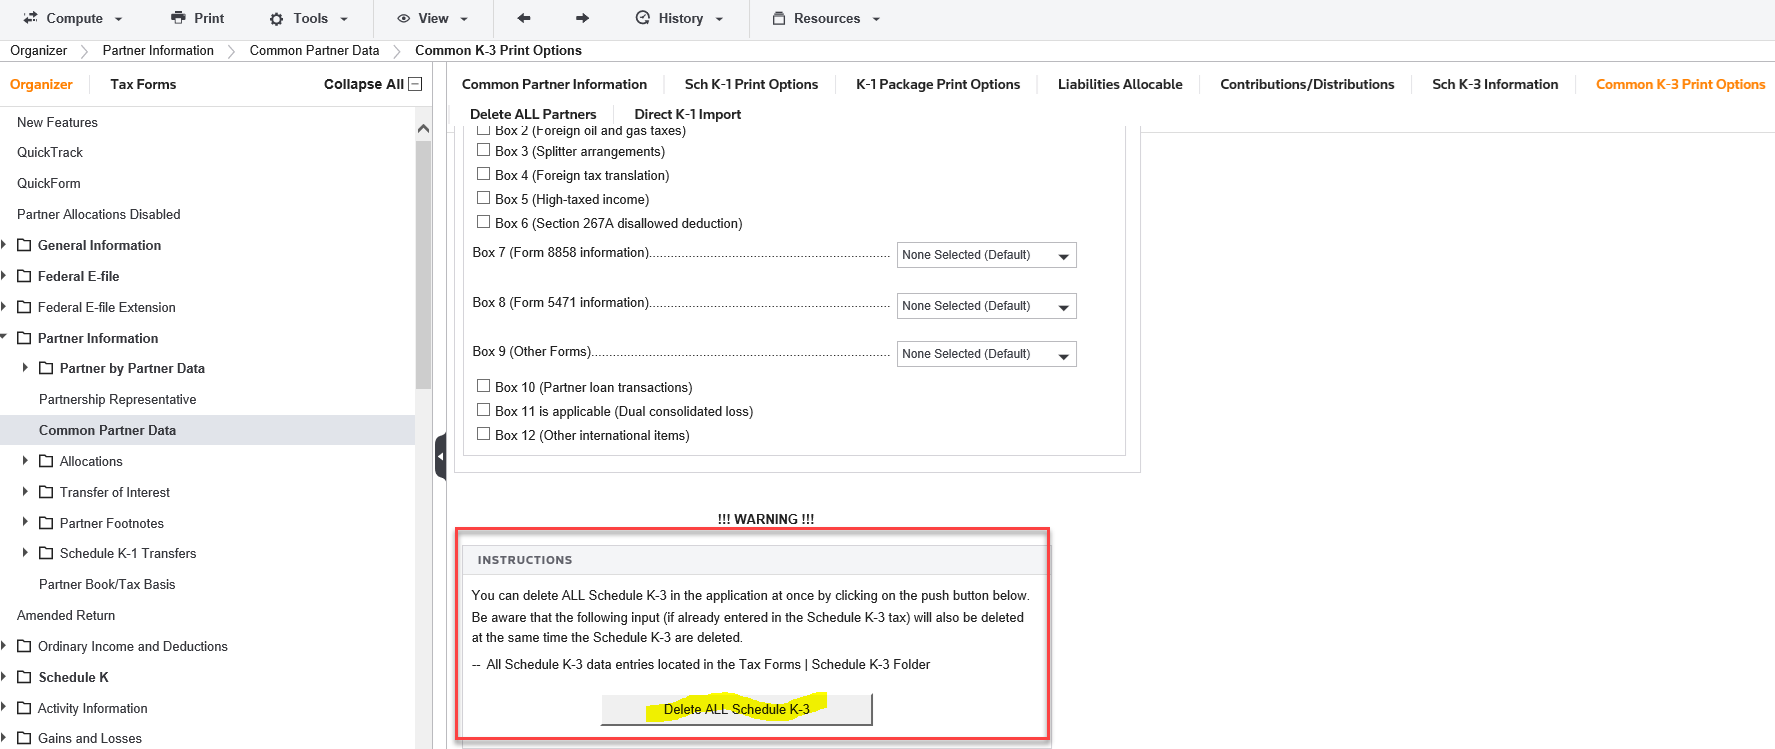
If data exists in Tax Forms > Schedule K-3 Partner International, delete it. To do so, go to Organizer > Partner Information > Partner by Partner Data > Common Partner Data > Common K-3 Print Options, and click the Delete ALL Schedule K-3 button.
Import/Export/dk1_2.htm/TY2021
Last Modified: 10/19/2021
Last System Build: 10/18/2022
©2021-2022 Thomson Reuters/Tax & Accounting.
