Special Cases
This chapter covers solutions to some specific but frequently asked questions.
Creating Partnership Footnotes in a 1065 Tax Return
Partnership footnotes, found in navigation at Organizer > Footnotes and Invoicing > Partnership Footnotes, cannot be created through import because the number field is protected. This number field is protected due to special logic that handles tax return rollover for footnotes. This logic also results in 100 pre-existing group members for this number field which are not visible in the locator. You can manually create footnotes in this section. If you export the locator after manually creating footnotes, you can see the copy numbers begin at 100, shown below.
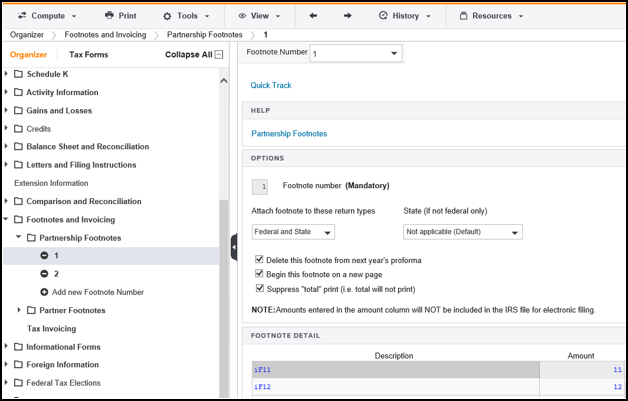
You can import data into the other fields on any of these footnotes you manually created. Check the export file to determine each footnote’s copy number.
"FOOTNOTES","100","1","0","PSHP FOOT: AMOUNT","11.00","O"
"FOOTNOTES","100","2","0","PSHP FOOT: AMOUNT","12.00","O"
"FOOTNOTES","100","1","0","PSHP FOOT: DESC","iF11","O"
"FOOTNOTES","100","2","0","PSHP FOOT: DESC","iF12","O"
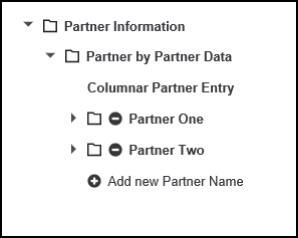
Deleting Partners from a 1065 Tax Return
The following steps explain how to use the U-flag import to delete certain partners from a locator. When used in an import file header, the U-flag will remove data from all fields that exist on the Data Connection build report and have a form name that matches any form name included on the import file.
In 1065 Data Connection, partner data has the form name SCHEDULE K-1. The following steps export data from a locator, filter it to show only the SCHEDULE K-1 data to be retained, and import the data back into the locator.
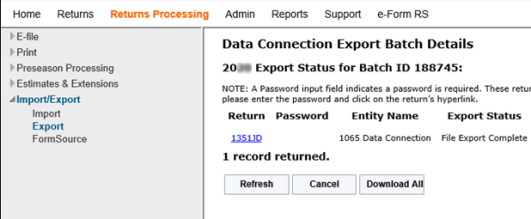
1. Export Locator
In RS Browser, select Returns Processing > Import/Export > Export to export the locator with partners to delete.
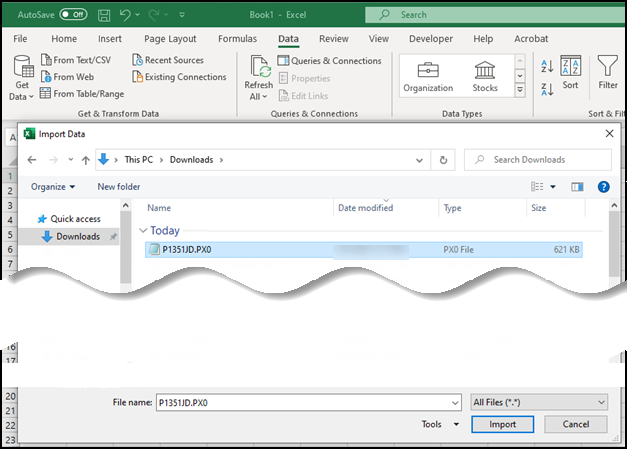
2. Open .PX* File
Open a new Excel spreadsheet.
On the Data ribbon, select Get Data From Text CSV.
Change the shown files to All Files (*.*) to see .PX* files, and select your export file.
3. Change Data in Excel
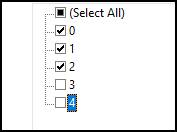
Filter the form name (first) column in Excel to show only the form name SCHEDULE K-1.
Filter the last column containing the Organizer, tax form, or workpaper letter to show only O.
Filter the copy (second) column to show only “0” and the numbers of any partners to be retained in the locator.
The sheet now contains the fields to be imported into the locator. Highlight columns A through F and copy/paste values only into a new tab in the spreadsheet.
Delete the first tab in the spreadsheet containing the filtered data. In Excel, choose File > Save As, and save the spreadsheet as a CSV (Comma delimited) (.csv) file.
Do not choose the CSV UTF 8 option; choose the regular CSV option.
4. Create .PX* File
Close the saved file, and rename its file extension from .csv to .PX* where * is the last digit of the tax year of the locator.
Open the .PX* file and change the flag from R to U.
Verify that the header is correct and that the rows on the .PX* file are the same as the spreadsheet where the partners to be removed were filtered out.
5. Import .PX* File
In RS Browser, select Returns Processing > Import/Export > Import to import the U flag file into the locator.

Open the locator to verify the import.
Import/Export/dc_specs_gst_36.htm/TY2021
Last Modified: 10/31/2021
Last System Build: 10/18/2022
©2021-2022 Thomson Reuters/Tax & Accounting.
