Using Images
Uploading an Image * Inserting an Image * Creating a Logo
Uploading an Image
To insert an image in to a template, you must first upload images to the Image Bank.
- From the main Letters and Filing Instructions page (not inside a template), go to Template Settings.
- Browse to find an image and click Upload.
- The image will be uploaded and can be previewed in the thumbnail displaying in the Image Gallery.
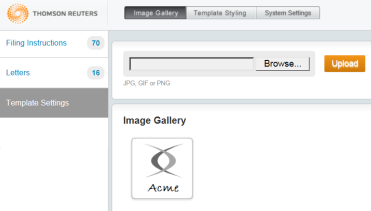
- You can upload more than one image into the Image Gallery.
Inserting an Image
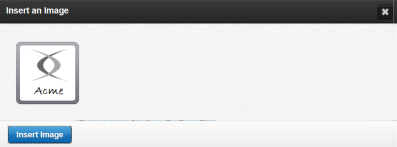
- Within a given template, position your cursor where you would like to place the image.
- Click the Add Image icon
 .
. - From the thumbnail preview of images in the Image Bank, select the image and click Insert Image. The image will be inserted in to your template.
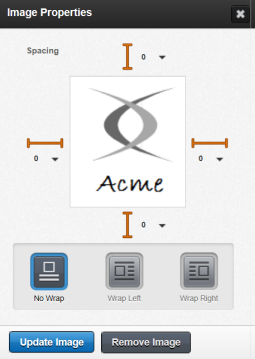
- To adjust the image, right-click it and go to Edit Image.
- The Image Properties dialog opens.
- In this dialog, you can modify the extra space around the image as well as adjust the wrapping of the text around the image.
To undo changes, use the keyboard shortcut of Ctrl + Z. To redo, use Ctrl + Y.
Creating a Logo
When creating the logo, we recommend that you keep the following in mind:
- Creating your logo in vector format will allow you to resize it without losing quality.
- Use the highest resolution possible (at least 1200 DPI recommended).
- Upload your file in PNG format. PNG produces the best quality when printed.
- The size of the image to upload is based on pixel width. LAFI will increase the scale of the image by roughly 300% when displaying and printing. Once you upload the image, you cannot change the scale of the image.
Full Width Logos
Full-width logos span the entire width of the header. To create a full-width logo, use the following guidance:
| Margins | Maximum Width in Pixels |
Notes |
|---|---|---|
| Standard 1” left/right | 615 pixels | Any image greater than 615 pixels will be cut off on the right side. |
| Margins < 1” | > 615 pixels | Width depends on how narrow the margins are. We recommend that you test different width to determine the maximum pixel width. |
| Margins > 1” |
< 615 pixels |
Less than Full Width Logos
When you use standard 1” left and right margins, the width of the logo in pixels is determined by multiplying the max width in pixels (615) by the desired percentage of the size of the image relative to the page.
For example: When you use 1” left and right margins, you have a printable width of 6.5 inches. If the desired logo width should cover 1” of this printable width, then the percentage of the logo relative to the printable width is 15.385%.
- Max width in pixels = 615
- Percentage of image relative to printable width = 15.385%
- Size of image width to upload = 615 * 0.15385 = 94.6 = 95 pixels
With non-standard left and right margins, the ideal width of the image in pixels depends on your selected margins.
Letters and Filing Instructions/admin_using_images.htm/TY2021
Last Modified: 08/22/2019
Last System Build: 10/19/2021
©2021-2022 Thomson Reuters/Tax & Accounting.
