Insurance Returns: Printing the Return
-
Select Print on the Organizer toolbar.
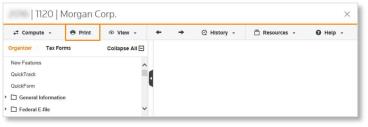
- The Print Selection screen opens a new window. Within this screen you can:
- Verify the return type to print
- Select desired copy types
- Include e-file attachments
- Select the all returns, or portions of the return to print
- Enter a file name
- Create the print file
- Review previous print history for the return
-
Select the returns you wish to print.
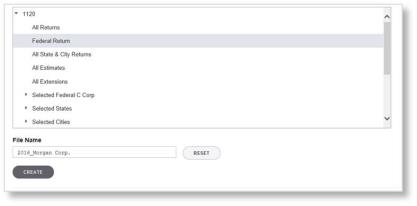
- Enter the File Name.
- Select Create.
Create populates the History. This History area shows the file name, print status, print selection, start date and time, and end date and time.
Once the print process has completed, you will see three options in the Actions column:
- Click Open to open the print file in PDF format within a separate browser window.
- Click Download to save the PDF to a desired location.
- Click Delete to delete the print file.
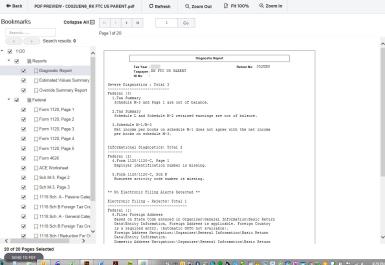
Print Preview
Print Preview provides an on-screen view of a return and all associated forms, schedules, and supporting documents.
Print Options
There are three places to go to review print options:
- Return and Print Options
- 1120-L Options
- 1120-PC Options
Return and Print Options
Navigation: Organizer > General Information > Return and Print Options > Basic Options tab
Where to go for control whether to print:
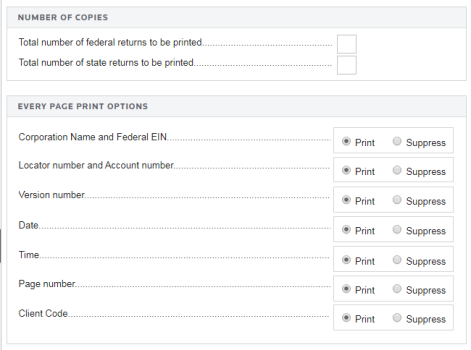
- Number of copies, return number, date and other information at the bottom of each page
- Workpapers with the tax return and other documents
Some of the options that can be selected for printing are:
- Include or omit return-specific information at the bottom of each page
- Print workpapers with the return
- Print return as an 1120-L, even if the percent-of-reserves test is not met
- Include Loss Reserve Discounting and Salvage and Subrogation workpapers with the return
- Force print return even if out of balance
- M-3 print options
- Suppress print of M-1 and M-2
- Print LRD Workpapers
- Print Annual Statement pages
If the return does not print as expected, always check the Return and Print Options screen. An option might exist to change the appearance of the printed return.
Use Print Preview to check the appearance of the return before sending the return to the printer.
Compute/Print Options for Schedule M-1/M-3
To change compute/print options for the Schedule M-1 or M-3:
- Select Organizer > General Information > Return and Print Options > Tax Form Options tab.
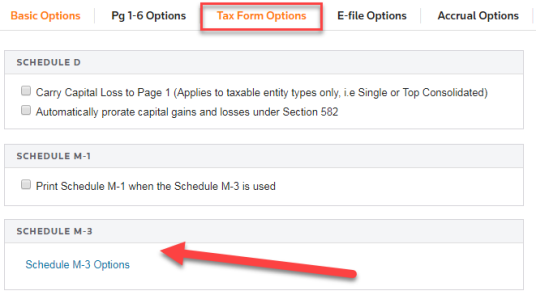
- Select the Schedule M-3 Options link.
- The Compute Options section gives you computation choices for Schedule M-1 and M-3. The default is calculation of both Schedule M-1 and M-3.
Schedule M-1 will not print if M-3 is completed unless you select the option to force print Schedule M-1 from the Print Options section.
- Use the Print Options section to suppress Schedule M-3 or force print Schedule M-1 when M-3 is completed.
Reviewing Print Options
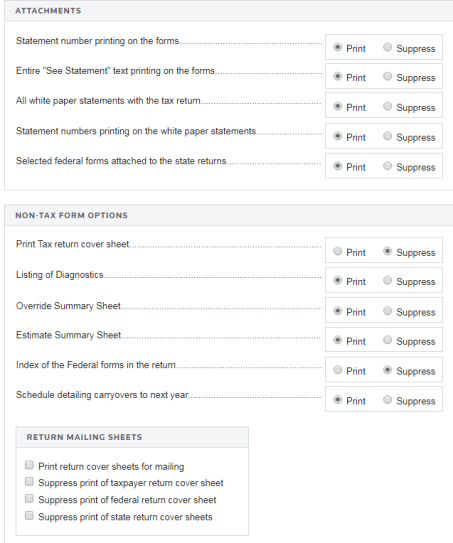
Check the print options before printing a return. By default, the system does not print out-of-balance returns. If your return is not printing, make sure the Allow printing of the tax return even if it is out-of-balance option is selected. If your return is not printing the way you expect, check your print options that include:
- Printing an out-of-balance return
- Suppressing information at the bottom of each page
- Attachments
- Number of copies
- Non-Tax forms
- State suppression
Workpapers display supporting detail for the numbers appearing on a return. Be sure to provide an audit trail from the Tax Form to the Organizer. Workpapers can be printed separately or with the tax return.
1120/oit_ins_print.htm/TY2021
Last Modified: 03/20/2020
Last System Build: 01/31/2023
©2021-2022 Thomson Reuters/Tax & Accounting.
