1040 E-file: Creating/Deleting the Extension E-file
Creating the E-file
After verifying that e-file diagnostics do not exist, create the data e-file:
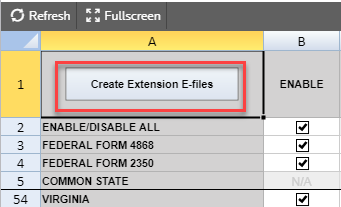
- Go to E-file > Enable/Create, and select the Extension tab.
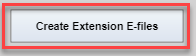
- Click the Create Extension E-files button on this form.
- To see the results from creating the e-file, check the information under Column H (Number of Validation Errors) for each jurisdiction (federal and/or state) to see the details.
- To review the validation errors, select View > Diagnostics > Efile XML Validation Errors, and select Federal or State.
- Correct the invalid input causing the errors.
- Recreate the XML file by clicking the Create Extension E-files button to clear all validation errors.
Deleting the E-file
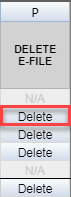
The Delete button deletes the existing XML file for that jurisdiction. To delete an e-file:
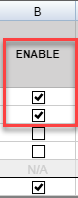
- Make sure the Enable check box is checked. You cannot delete an e-file if this check box is blank!
- Click the Delete button.
- The E-file Status changes to indicate that the XML file has been deleted.
If you have clicked the Delete button and the Enable check box is blank, do the following:
- Check the Enable check box.
- Click the Create Extension E-files button.
- Click the Delete button.
E-file/1040_ef_ext_6.htm/TY2020
Last Modified: 08/13/2020
Last System Build: 09/13/2021
©2020-2021 Thomson Reuters/Tax & Accounting.
